
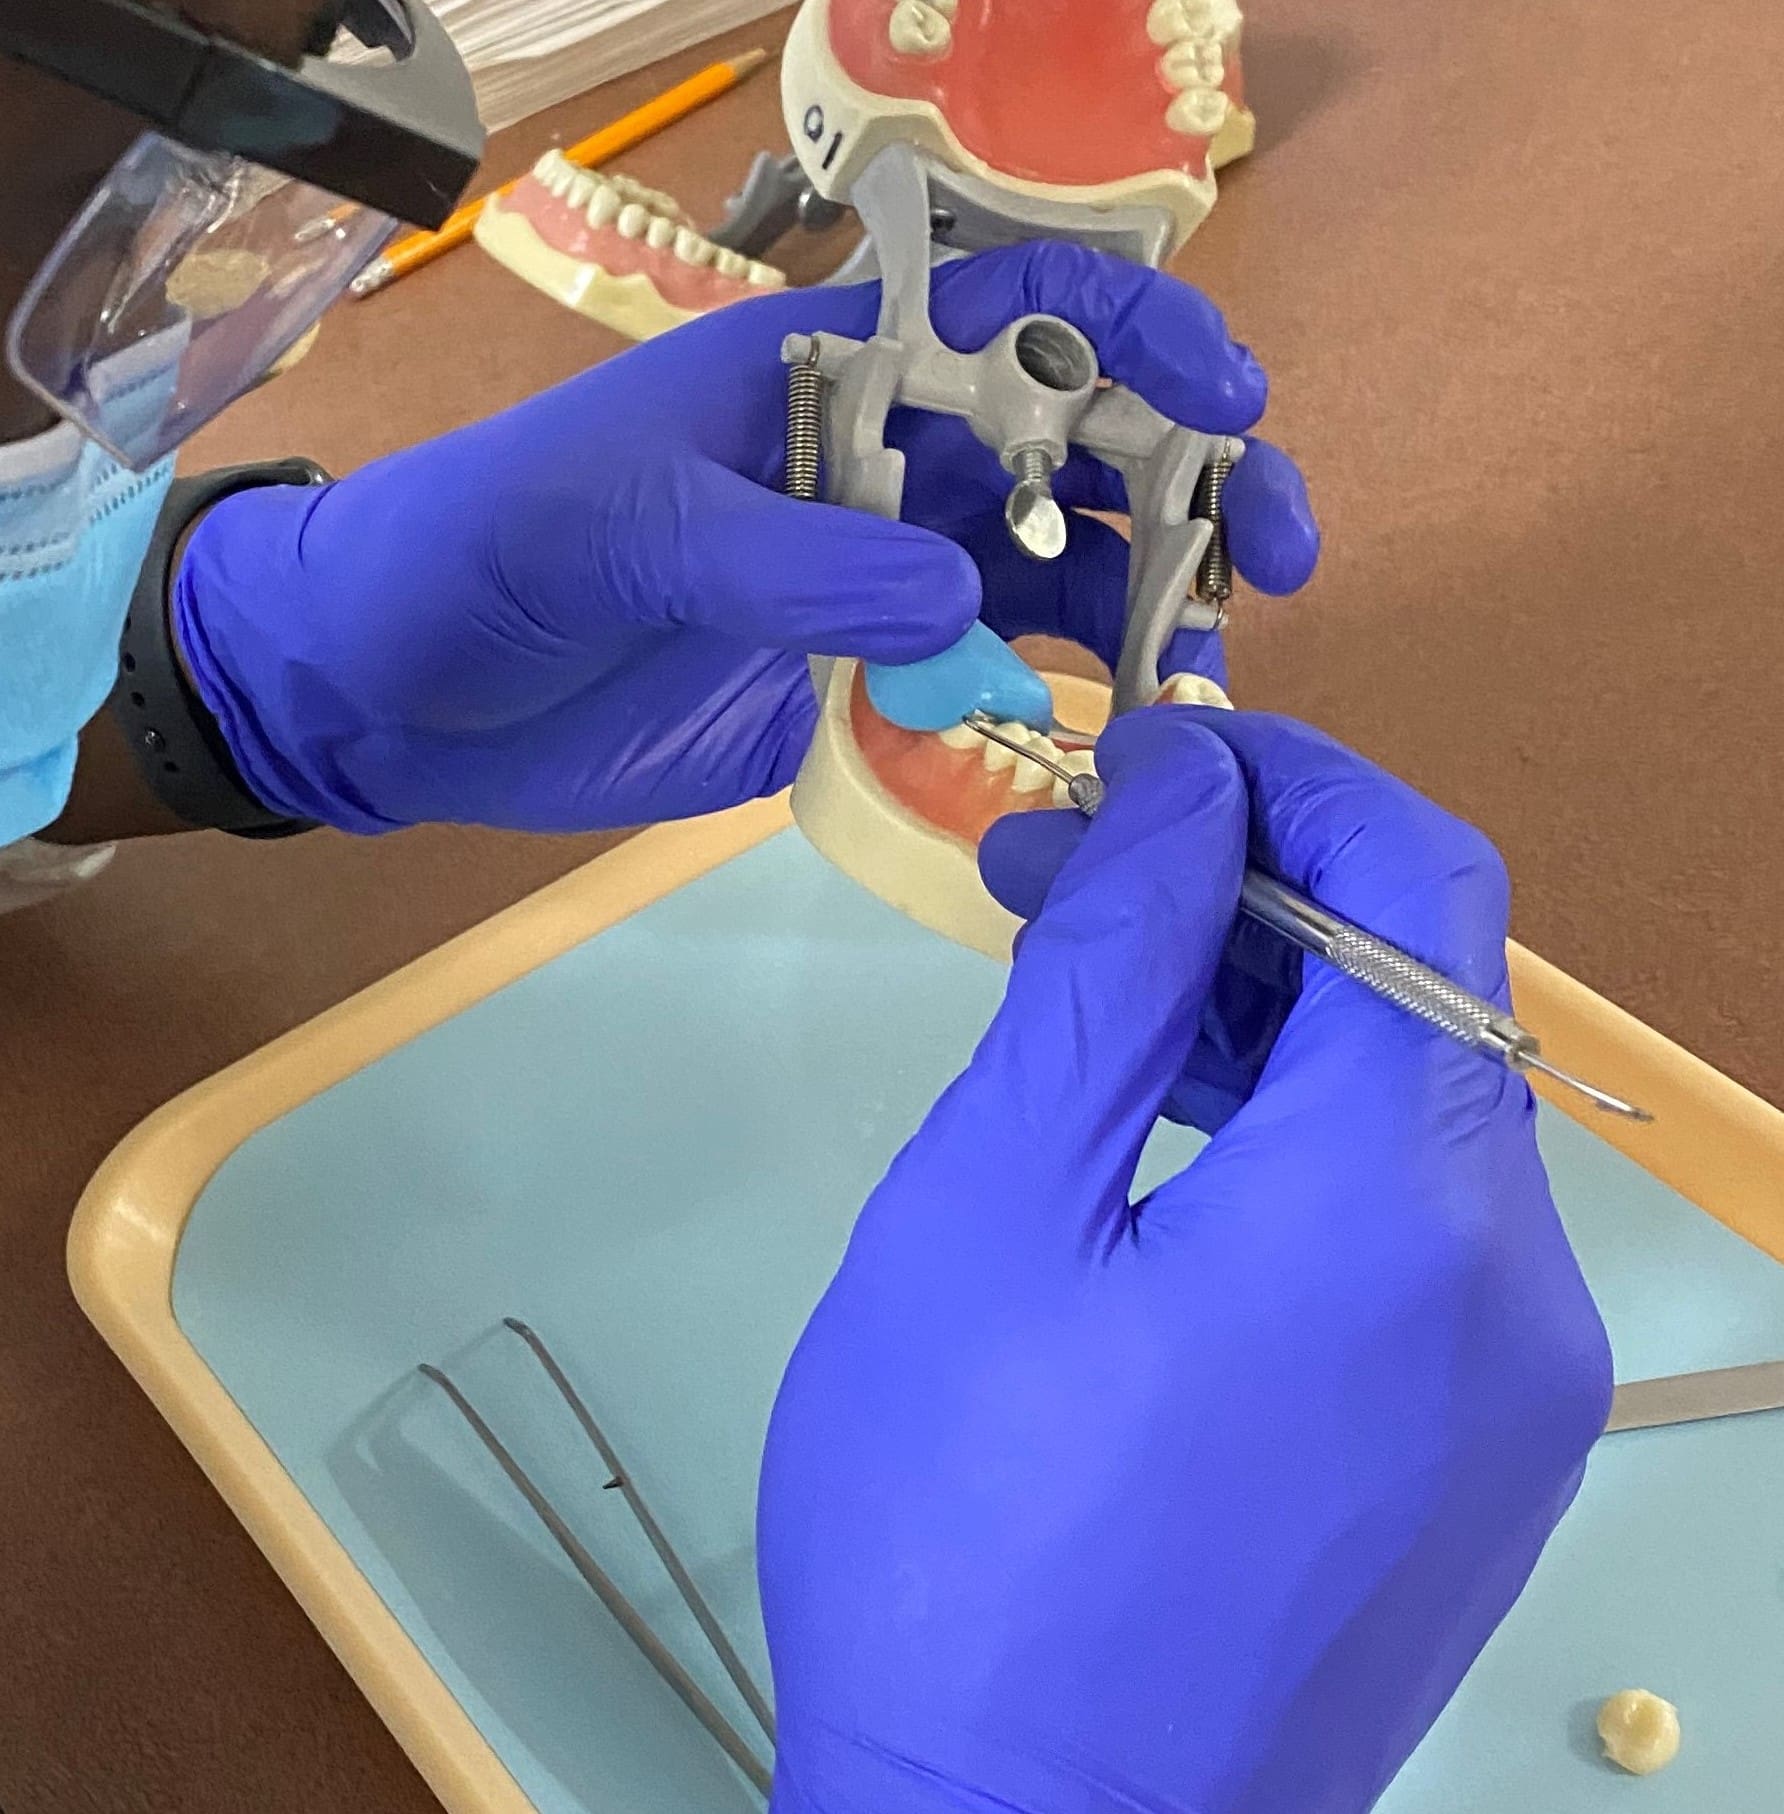
As a dental assistant, one of your primary responsibilities is to pour a study model and take impressions. These study models play a crucial role in diagnosing and planning a patient’s treatment, while impressions serve as the initial step in creating crowns, bridges, dentures, and orthodontic appliances.
Whether or not you’re an experienced dental assistant, it’s vital to learn the process of pouring study models and taking impressions as a dental assistant. In addition to mastering the technique, it’s equally important to understand the materials and tools involved. Throughout this blog, we will guide you through each step of these procedures so that you can confidently assist your dentist.
—
Preparing for the Impression
To prepare for taking an impression, it’s essential to gather all the necessary materials and tools beforehand. These include impression trays (upper and/or lower), either alginate or PVS impression material, mixing bowls, spatulas, water for mixing, optional Vaseline or white soft paraffin to prevent tray sticking, disposable gloves, face masks, and protective eyewear for both you and the patient.
Before proceeding, make sure to consider material preferences and follow the manufacturer’s recommendations for alginate or PVS material. Additionally, assess whether a fast-set or regular-set option is more appropriate based on the required timeframe.
Step-by-Step Guide: Taking a Dental Impression
1.1 Preparing the Patient
Ensure that the patient is comfortably seated in the dental chair with their head positioned correctly.
Take the time to clearly explain each step of the procedure to the patient, ensuring they have a comprehensive understanding of what to expect.
Wear the necessary protective gear, including gloves, a mask, and eyewear.
1.2 Selecting the Impression Tray
Choose an appropriately sized tray that fits comfortably in the patient’s mouth without causing any discomfort.
The tray should extend beyond the last molars while avoiding being too oversized or undersized, as this can distort the impression.
1.3 Preparing the Impression Material
For alginate, carefully measure the powder and water according to the manufacturer’s recommendations. Use the provided scoop and spatula to ensure a proper mix, resulting in a smooth and creamy consistency.
If using PVS material, mix it in the provided mixing tips or bowl until it reaches an even consistency.
1.4 Loading the Impression Tray
For alginate, evenly distribute the mixed material into the tray, making sure to pack it down without introducing any air bubbles.
For PVS, load the tray quickly since it sets fast.
1.5 Placing the Tray
Instruct the patient to open their mouth wide.
Gently insert the tray from the back side of the mouth, applying firm pressure until it covers all the teeth and gums.
Ensure that the tray is fully seated and that the material fills the sulcus around the teeth.
With alginate, allow the material to set for 2 to 4 minutes based on the chosen set time.
For PVS, follow the material’s instructions for approximate setting time (around 2 minutes).
1.6 Removing the Tray
Once the material has set, slowly and carefully remove the tray from the mouth, starting from the posterior aspect to prevent any deformation of the impression material.
1.7 Inspecting the Impression
Thoroughly inspect the impression to ensure it has captured all the teeth, molars, and details of the gingival tissue.
Check for any voids, bubbles, or distortions. If the impression is compromised, it may need to be retaken.
—
Creating the Study Model
After successfully taking the impression, the next step is to pour a study model that accurately replicates the patient’s teeth. This model is essential for diagnosing and planning the appropriate treatment.
Step-by-Step Guide: Pouring a Study Model
2.1 Mixing the Gypsum (Stone or Plaster)
Select the suitable type of gypsum, such as dental stone or plaster, based on the desired strength and level of detail.
Follow the instructions provided to accurately measure the powder and water. The mix should be smooth and free of lumps.
Use a spatula to mix the gypsum in a rubber mixing bowl until it reaches a creamy and homogenous consistency.
2.2 Preparing the Impression
Carefully wash the impression with water to remove any debris, ensuring you don’t distort it.
Thoroughly dry the impression with a towel to eliminate excess moisture before pouring.
2.3 Preparing the Base for the Model
Create a dam around the top of the impression using wax or seal the back of the tray with a thin film of impression material to block it.
Alternatively, start by placing a small amount of gypsum at the bottom of the impression to serve as the base.
2.4 Pouring the Gypsum into the Impression
Gently pour the mixed gypsum material into the impression, starting from one corner and gradually covering the entire impression. This technique helps prevent the trapping of air bubbles.
Tilt the tray slightly and tap it gently on the counter to release any trapped air bubbles.
2.5 Adding Additional Gypsum
Fill the impression completely with gypsum, covering the surface smoothly using a spatula.
2.6 Allowing the Model to Set
Let the model set for at least 45 minutes to an hour, or as instructed by the gypsum material. During this time, the model will harden and become a solid replica of the patient’s teeth and gums.
2.7 Removing the Impression
Once the gypsum has fully set, carefully remove the impression from the model. Flexing the tray slightly can aid in separating the two without causing any damage to the cast.
Trim any excess material as necessary to remove voids or bubbles and enhance the model’s detail.
—
Final Steps: Storage and Handling
Once you’ve poured and trimmed the study model, it can be stored for future reference or used in treatment planning.
Remember to label the model with the patient’s name, date, and any other relevant details.
Store the model in a safe and dry place to prevent any damage. When sending it out for further treatment, such as crown or appliance fabrication, package it with care to avoid breakage.
Taking impressions and pouring study models are vital skills for dental assistants. These procedures require precision and attention to detail to produce accurate and functional results. By following these steps diligently and gaining a thorough understanding of the materials and instruments involved, you’ll be well-equipped to assist your dentist in providing excellent care to patients.