


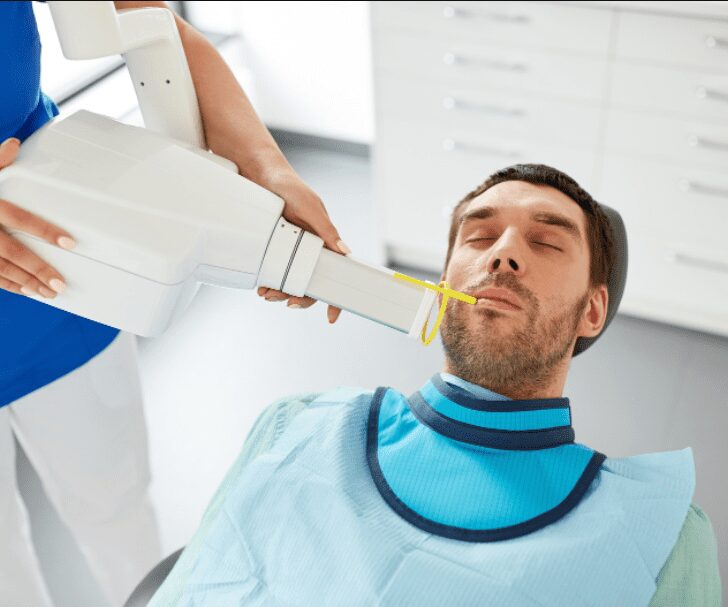
As a dental assistant in Florida, one of your most important responsibilities is taking dental X-rays. These images allow dentists to see what’s happening below the surface of a patient’s teeth and gums. X-rays help diagnose cavities, infections, bone loss, and other dental issues. As a dental assistant, you’ll prepare the patient, position the X-ray equipment, and make sure the process is safe and efficient.
Step-by-Step Guide to Taking Dental X-Rays
As a dental assistant in Florida, or anywhere else, it’s essential to follow the correct procedures and meet state regulations. This guide walks you through each step, including preparation, safety, and best practices.
1. Prepare the Patient and the Room
Gather and Check Equipment
Ensure all equipment is available: X-ray machine, digital sensor or film, lead apron, and any other protective items. Double-check that the X-ray machine is working and calibrated correctly.
Review Medical History
Ask about any health conditions that may affect the procedure, such as pregnancy. If a patient is pregnant, only proceed if absolutely necessary and with proper precautions.
Position the Patient
Seat the patient comfortably. Adjust their head to ensure correct alignment for the X-ray.
2. Protect the Patient
Use a Lead Apron and Thyroid Collar
Place a lead apron over the patient’s chest and lap to block scatter radiation. Although Florida does not require a thyroid collar, it’s best practice to use one for added protection.
3. Position the Equipment
Choose the Right X-Ray Type
- Bitewing: Detects cavities and bone loss between teeth.
- Periapical: Shows the entire tooth and root structure.
- Panoramic: Captures the full mouth, including jaw and sinuses.
Place the Sensor or Film
Insert the sensor or film into the patient’s mouth. Use holders or positioning devices to keep it stable.
Align the Machine
Aim the X-ray tube perpendicular to the sensor or film. Proper alignment ensures a clear image and avoids retakes.
4. Take the X-Ray
Instruct the Patient
Ask the patient to bite gently on the holder and remain still during the exposure.
Capture the Image
Step behind a shield or barrier and activate the machine. The exposure takes only a few seconds. For multiple images, reposition the sensor and machine as needed.
Digital Advantage:
With digital systems, you can view the image instantly and make quick adjustments if necessary.
5. Post-Exposure Care
Review the Image
Check for clarity and proper exposure. If using film, process it according to the manufacturer’s instructions. If using digital, review the image on the screen.
Care for the Patient
Remove the lead apron and thyroid collar. Offer any needed instructions or assistance.
Clean and Disinfect
Dispose of single-use items and disinfect reusable equipment per office protocol.
Florida-Specific Requirements
In Florida, dental assistants must meet specific standards to perform X-rays:
Complete a Radiation Safety Course
This course ensures you understand how to use radiology equipment safely and protect both patients and staff.
Hold Florida-Approved Certification
You must have current EFDA and Dental Radiology certifications approved by the Florida Board of Dentistry.
Follow Radiation Guidelines
Use the lowest radiation dose possible and adhere to all protocols for limiting exposure.
Final Thoughts
Taking dental X-rays as a dental assistant in Florida involves more than just pushing a button. It requires careful planning, patient communication, safety practices, and compliance with state regulations. Your attention to detail not only helps dentists diagnose and treat problems but also ensures every patient feels safe and well-cared for.
By following these steps and staying up to date with your certifications, you’ll provide excellent care and contribute to high-quality dental services in your office.